Home
Recipe Index
About
Shop
Contact
Learn to Cook
Home
Recipe Index
About
Shop
Contact
Learn to Cook
Home
Recipe Index
About
Shop
Contact
Learn to Cook
Home
Recipe Index
About
Shop
Contact
Learn to Cook
Popular Recipes
Chicken Dishes
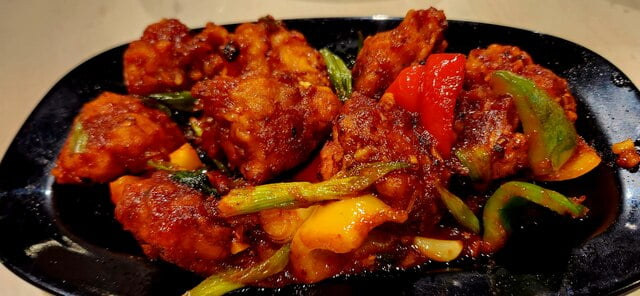
Tai Pai Chicken
Evening snack
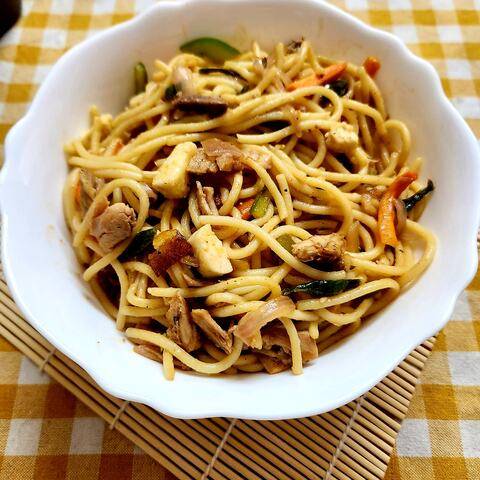
Spaghetti Pasta
Fish Recipes
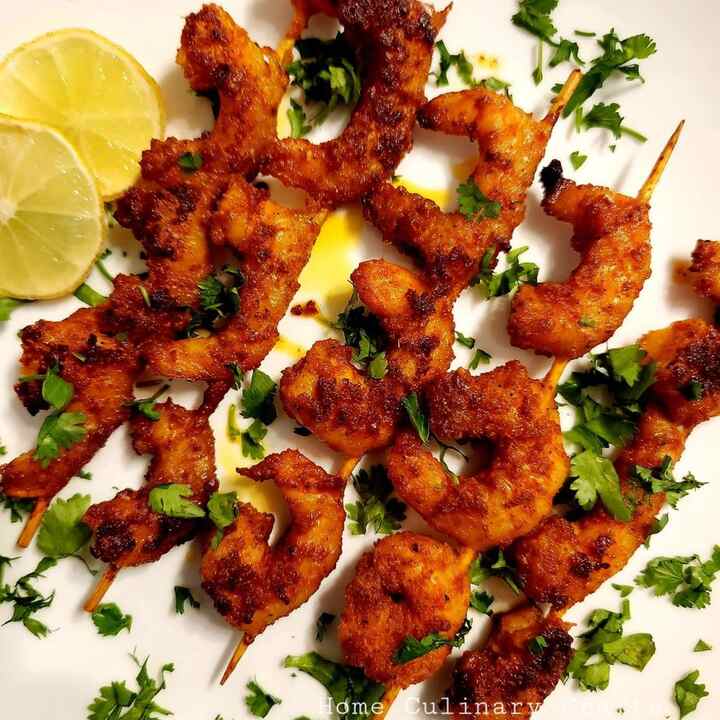
Barbecue Prawn Skewers
Evening snack
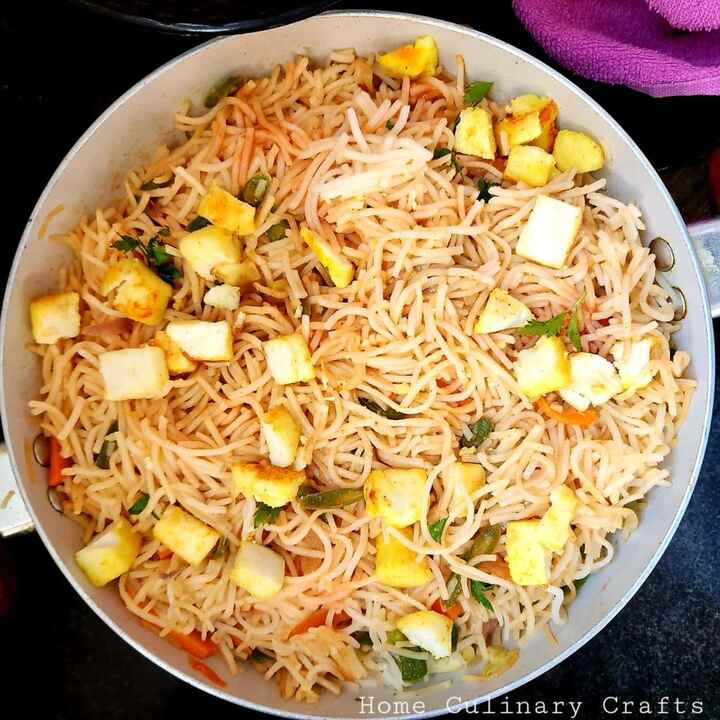
Paneer Noodles
Latest Recipes
General
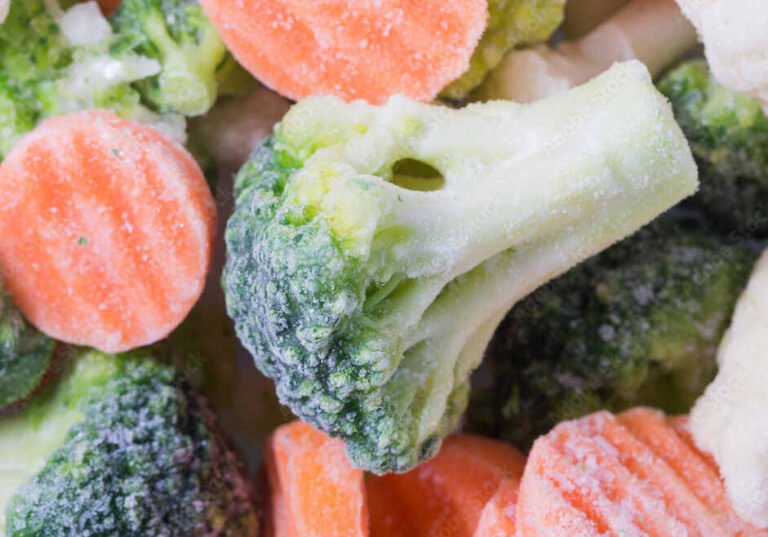
Defrosting of Food
Appetizer
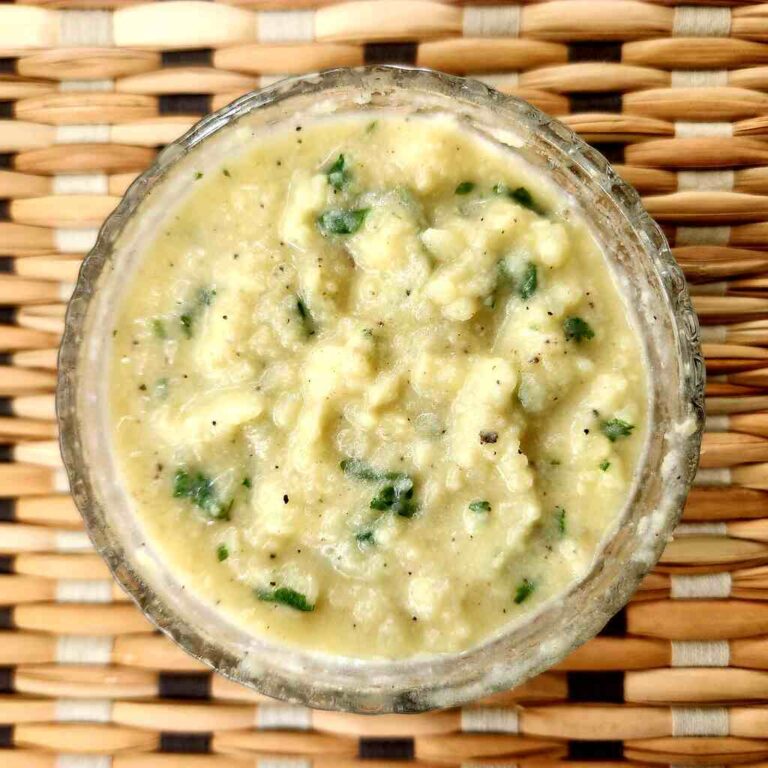
Creamy Mashed Potatoes for Steak
Fish Recipes
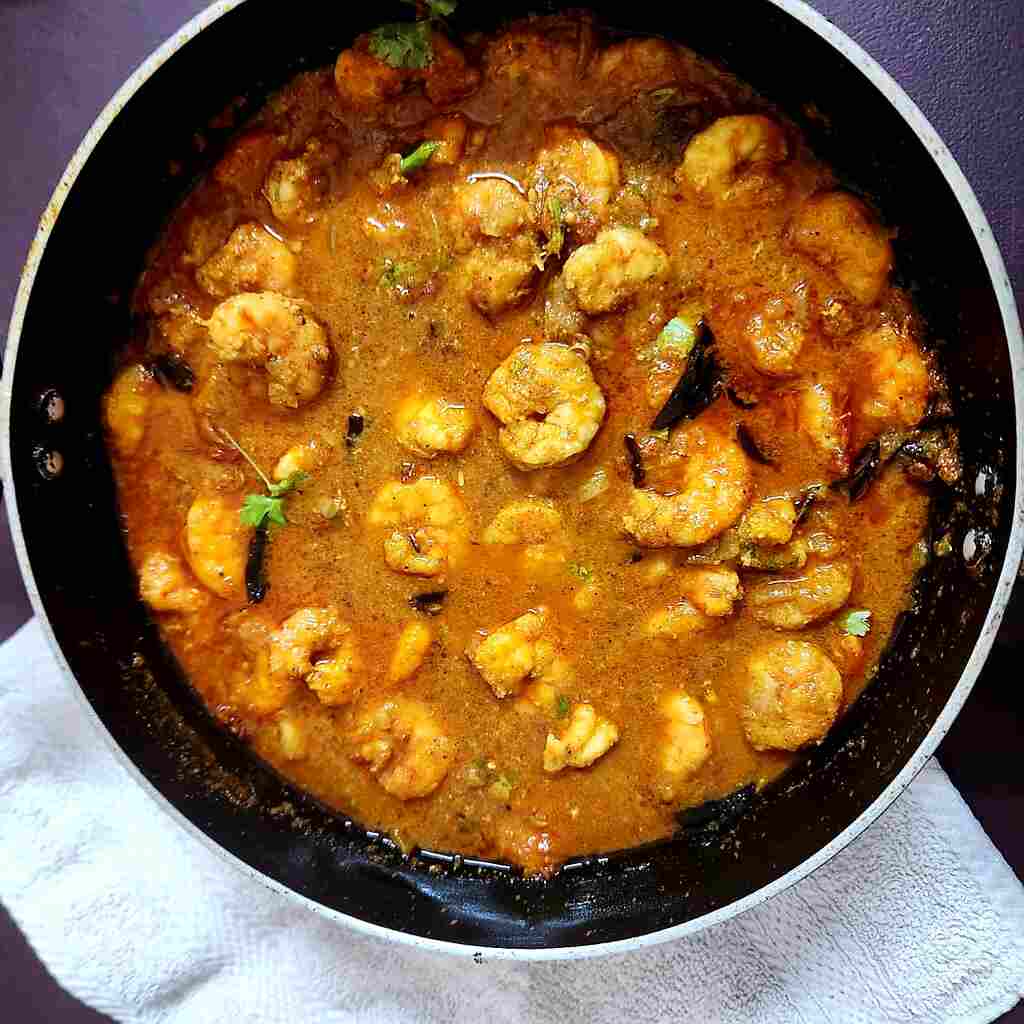
Chettinad Prawns Curry
Evening snack
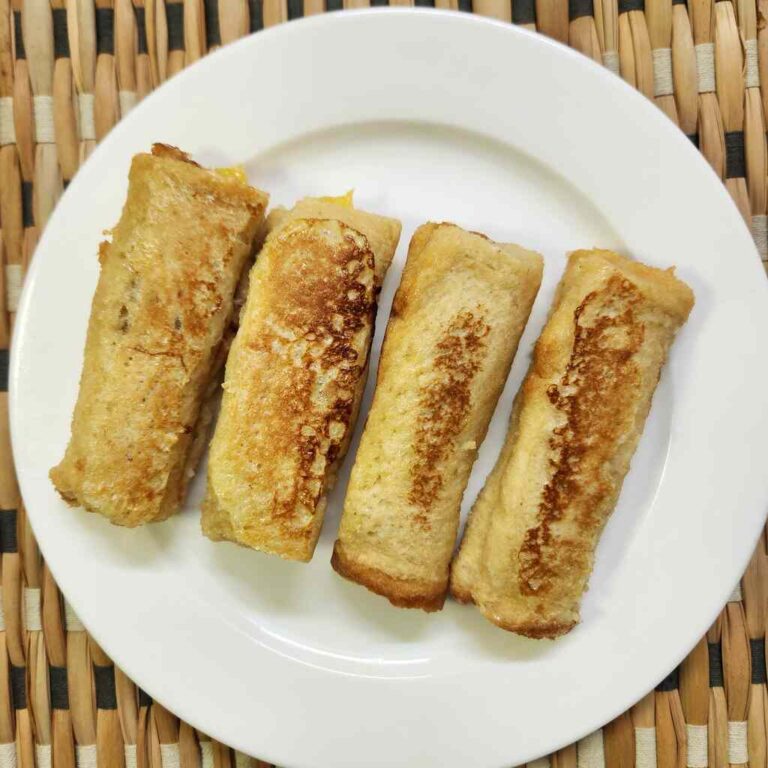
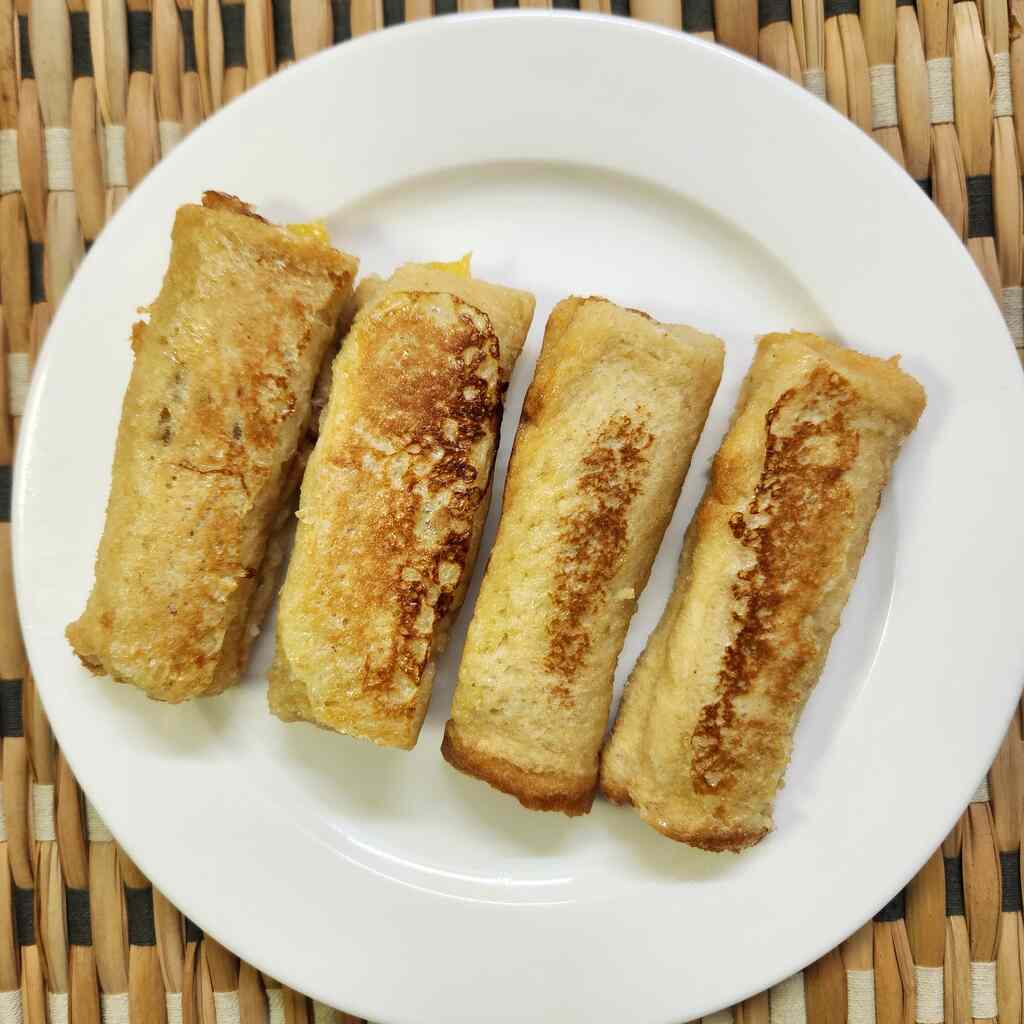
Banana Bread Toast
Rice Recipes
Rice
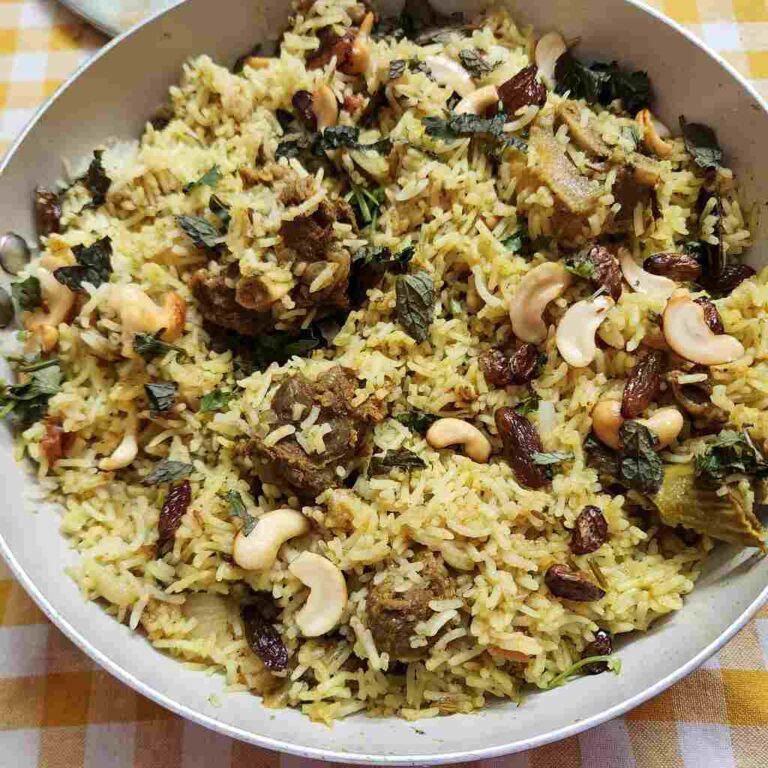
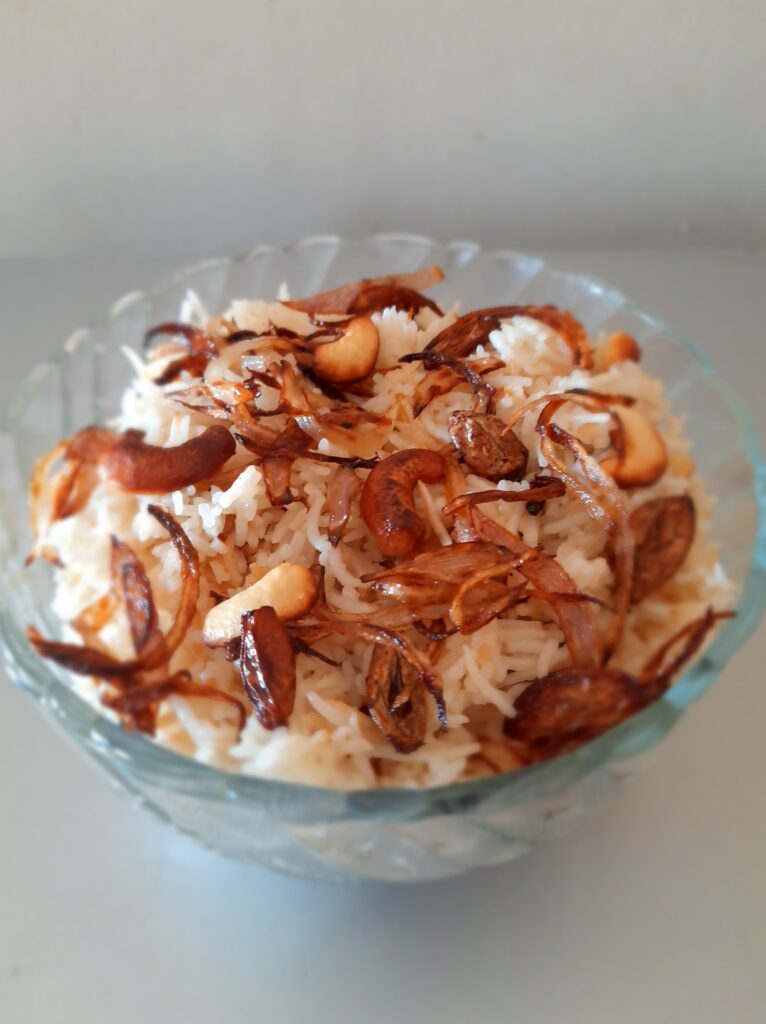
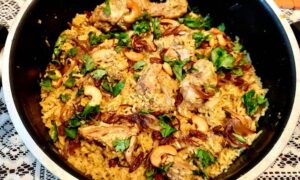
Mutton Dum Biryani
Rice
Ghee Rice | Pressure cooker Ghee Rice
Rice
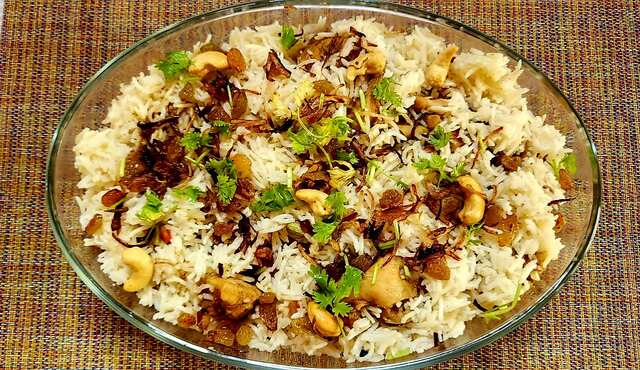
Easy Chicken Biryani
Rice
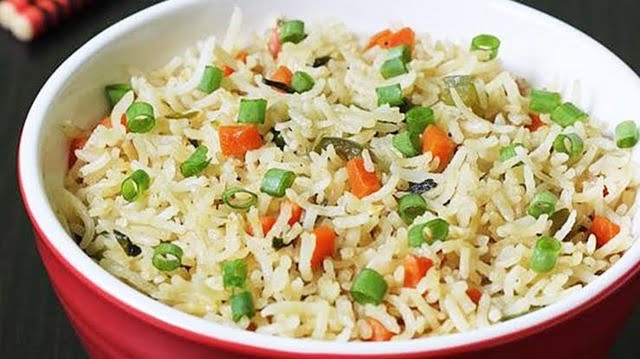
Vegetable Fried Rice
Healthy Recipes
Juice
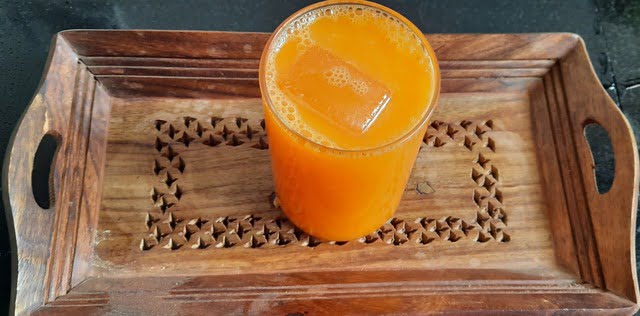
Healthy Carrot Juice
Juice
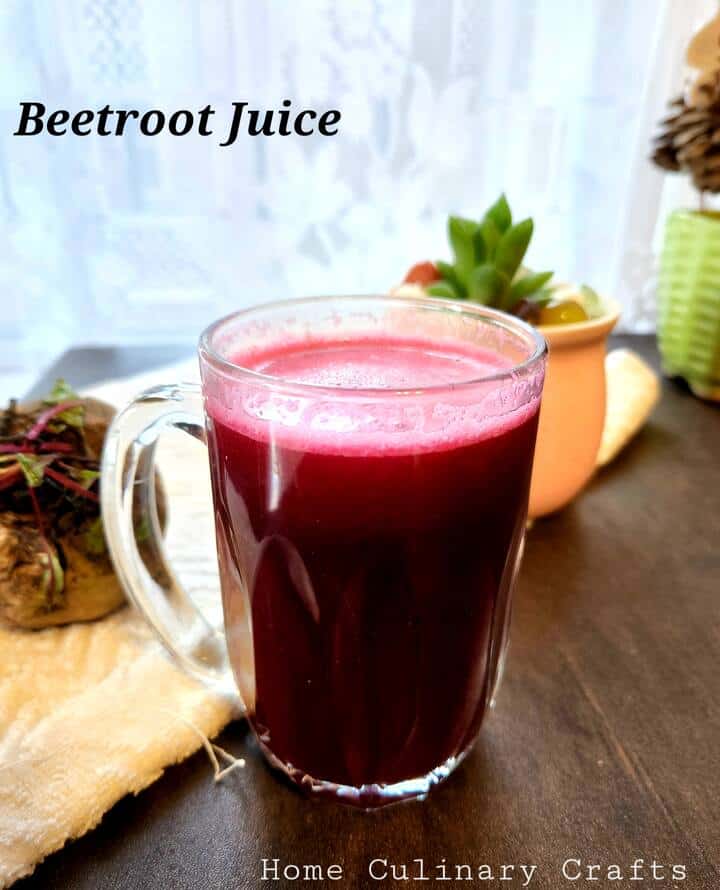
Beetroot Juice
Vegetarian Curry
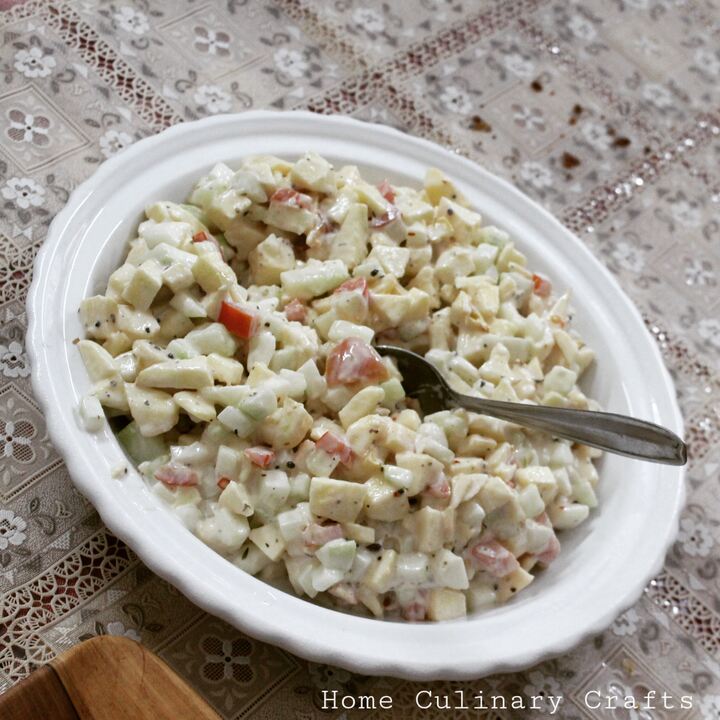
Russian Salad
Chicken Dishes
Stir Fried Chicken Sausages with Vegetables
Popular Recipes
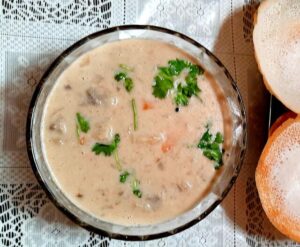
Mutton stew
Thalappakatti Chicken Biryani
Tai Pai Chicken
Latest Recipes
Defrosting of Food
Creamy Mashed Potatoes for Steak
Chettinad Prawns Curry
Banana Bread Toast
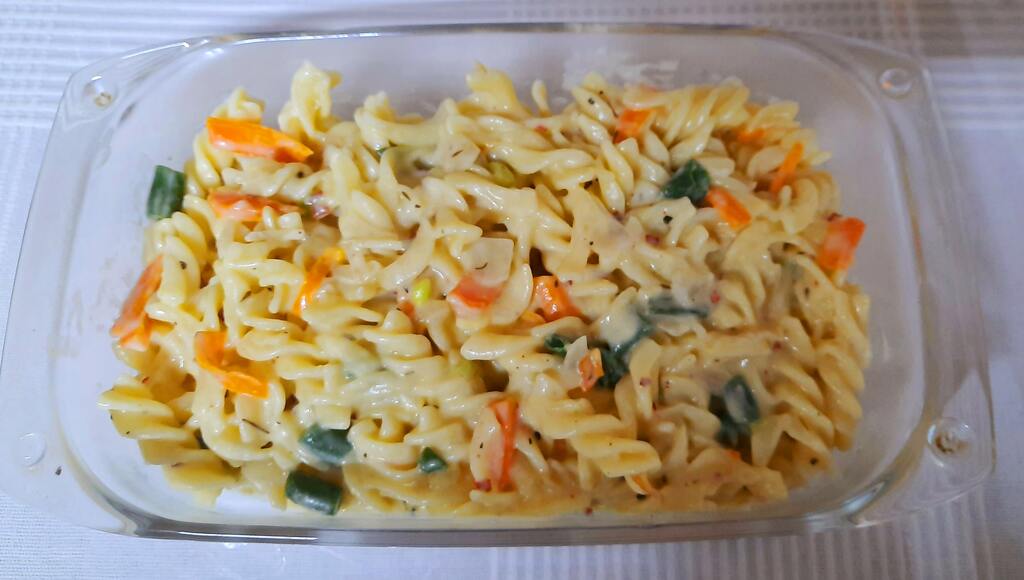
White Sauce Pasta with Vegetables
Categories
Rice Recipes
Meat Recipes
Recipes by Occasion
Breakfast
Vegetable Dishes
Fish Recipes
Appetizer
Evening Snacks
Sweets
Pickles
Healthy Recipes
Bachelor's Recipes
Bake a Cake
General Tips
Dessert
Home Culinary Crafts
About
Recipe Index
Shop
Learn to Cook
Contact Us
Blog Categories
Fish Recipes
Rice Recipes
Meat Recipes
Appetizer
Sweets
Contact Details
[email protected]
Follow Us
Instagram
Pinterest
Facebook
Twitter
Stay Connected
Subscribe
You have been successfully Subscribed!
Ops! Something went wrong, please try again.
© 2023 Home Culinary Crafts. Powered by Home Culinary Crafts
Scroll to Top